Loading & Installing
Trillium Hooks
Install Trillium Compression Hooks in 3 simple steps. A process that takes seconds to complete and can be done without removing the archwire! |
1. Load |
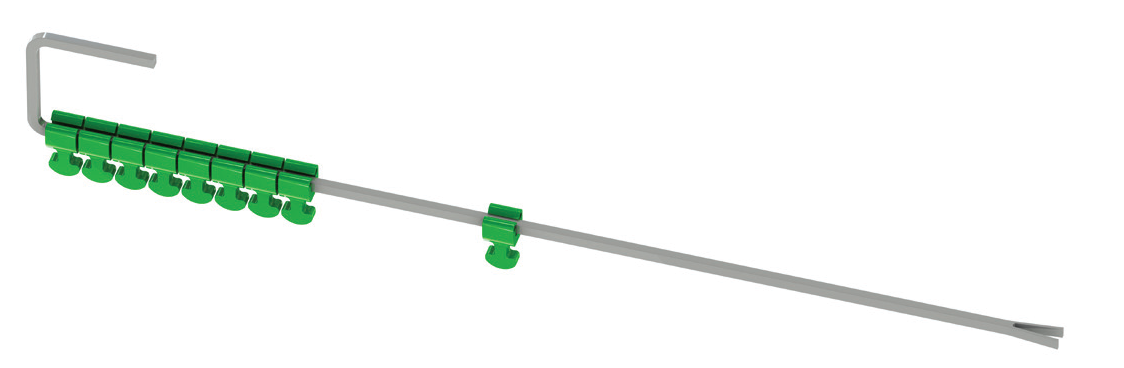
Slide one hook forward on the dispenser wire.
|
|
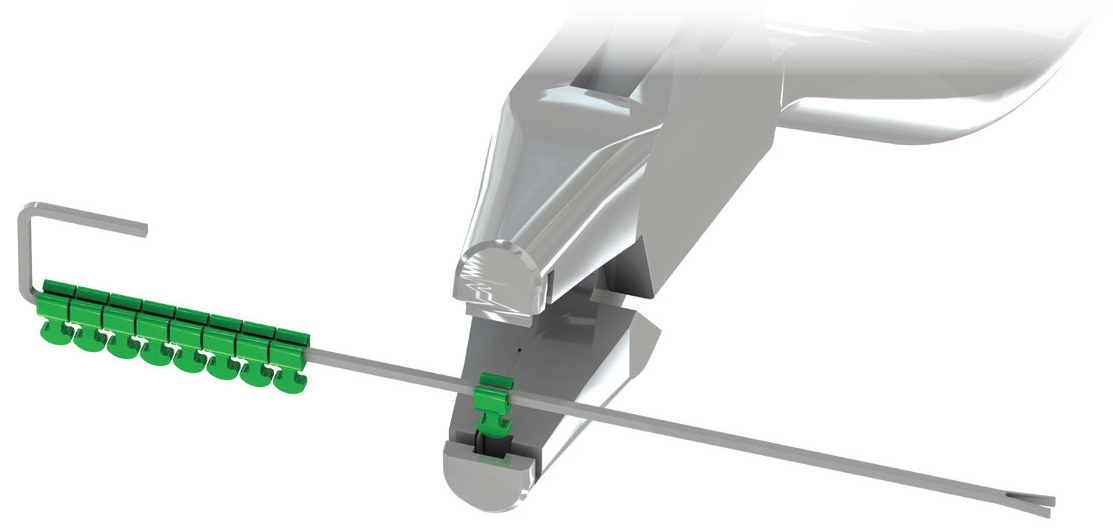
Open the pliers and raise the Lower Beak to capture the separated hook
in the Receiving Well. The well contains a spring loaded piston which prevents the
hook from falling out during the installation procedure.
|
|
Load a Hook into the Receiving Well of the Trillium Compression
Hook Plier. The Pliers must remain open during loading.
|
|
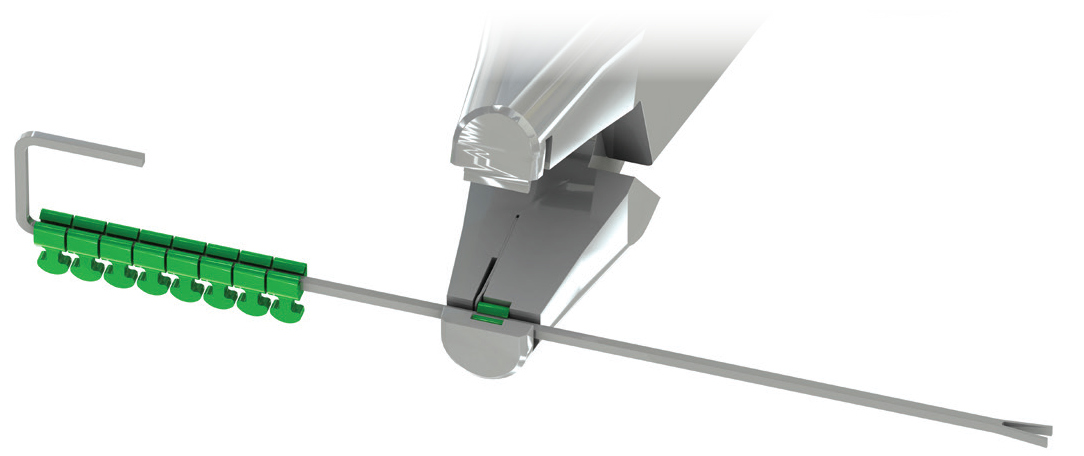
Slide the open plier along and then off the dispenser wire leaving the hook in the lower beak.
|
|
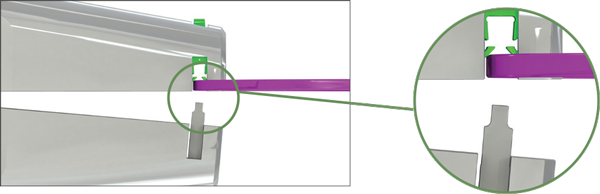
2. Position |
|
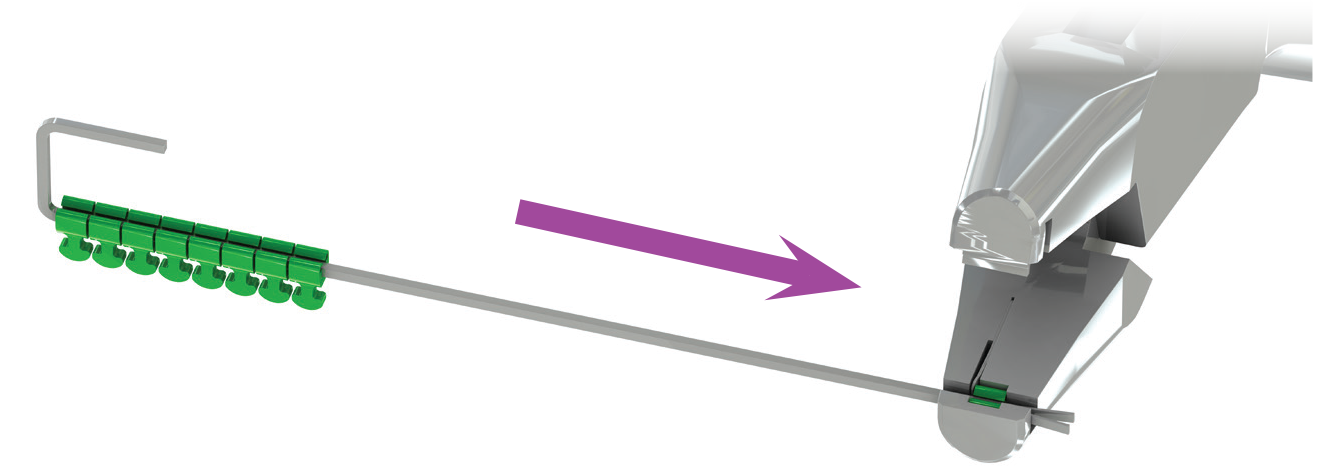
Position the plier at the desired
location on the archwire. Ensure that the hook is oriented correctly to suit the desired clinical application.
|
|
Firmly squeeze the plier handles, moving the opposing beaks together. |
|
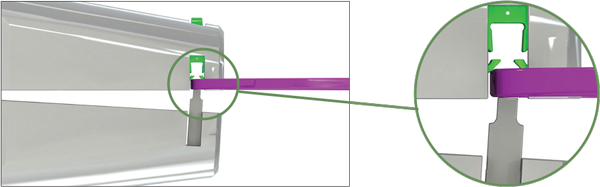
3. Snap |
|
Continue to apply firm pressure, thereby installing the Trillium Compression Hook. You will hear a distinct “snap” indicating that the hook has been installed on the archwire.
|
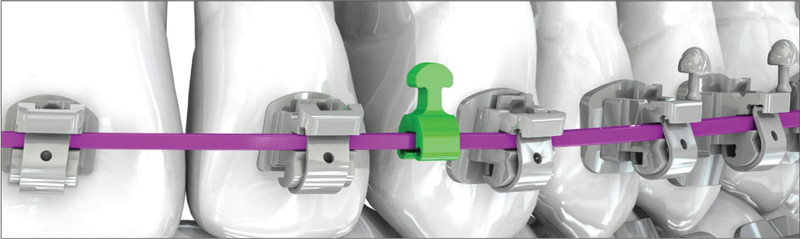
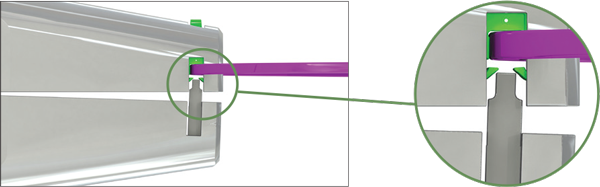
A Trillium Compression Hook installed on a square Archwire
|